Showing posts with label Christmas gifts. Show all posts

Sunday, 11 December 2016

Christmas is coming....

So our annual secret Santa has arrived for our QQ group.  an early decision on what to make was easy - just a matter of what colour scheme depending on the recipient!

An advent calendar with a twist....

Soooooo, with cardboard scissors and a massive pot of glue off we go....


Can you see what it is yet...


Ta Dah......


Such fun.......I'm really not sure how robust the whole thing will be, and certainly wouldn't survive a household with little hands but I hope it will last for years to come.  I'm off now to collect all the little red beads that pinged themselves across the sewing room as they fell off!


Tuesday, 29 December 2015

Christmas Table Runners

Last year I made a decision to make as many Christmas gifts as I could this year.  Did I succeed........well no, not really.  The majority of my gifts were still purchased from major high street retailers...... but I did make more than last year, so I'm heading I the right direction!!

Mini Christmas table runners......


Saturday, 20 December 2014

Christmas Gift for Mini Me

Back in April, a good friend left for the USA - a three year absence from our sewing circle meant a leaving gift that would remind her of us all.... Mini me was born ... the gift was also given with the instructions that we wanted to following her (and mini me's) adventure in the USA while she was gone.  A blog was born....Mini Me Moves to the Beach.

EL has embraced the adventures with mini me like we could not have considered possible - roping her husband in and taking Mini me with her on trips out - if we had said to EL a year ago that she would be writing about and carrying a little crochet doll around the USA - I feel she would have laughed very hard for some time - but read the blog and you'll find they are both embracing life together!!


This year the QQ decided to do a Secret Santa - and I for one missed making everyone a little gift - I do so enjoy the my time making their gifts at Christmas time but as it worked out one QQ got a bigger gift than normal and I decided that Christmas could not pass without sending mini me a little gift.

Her adventures on the beach have had somewhat concerned me over the last few month - you know she is only very little and the sea is so very big (I can hear you laughing you know - but stay with me!!!).  I decided on a gift to keep her safe....

Ta Dah....


Yeh I know a crochet rubber duck ring!!! I think this truly confirms that I am completely mad!!! 


Saturday, 28 December 2013

Ta Dah: Quilting Stiletto

The Quilting Stiletto - is the tool you never knew you needed, but once you have it, you don't know how you quilted without it!!

The Stiletto is used for:
  • Guide fabric through the sewing machine
  • Hold turned edges while ironing
  • Pull up the bobbin thread to the top of the fabric
  • Un-sew stitches
  • 'Scrunch' ribbon against a machine needle when doing silk embroidery.

Finally, a stiletto adds beauty to your quilting environment.......go on make one today!

So .....you will need....

A turkey lacer...... or spike of your choice..... I used the following ....


And a selection of beads.......now beads......Most of mine have come from old necklaces/bracelets - especially the bigger beads - I have collected most from Charity shops - also its good to ask if they have any broken jewellery.  Its also worth taking your spike with you to check the bead threads onto the spike - sometimes the holes are just not big enough.  If you're after a particular colour then you made need to visit a bead shop!!


And off you go... using a little bit of super glue (carefully) place a little glue on the lacer and then thread your beads on in the order you require.


Ta Dah........


Friday, 27 December 2013

Ta Dah: Chap Stick Holder


Gather your yarn, a button, needle for sinking your ends, scissors and a cup of tea!

Round 1: Chain 4


sl st into first stitch


Round 2: Chain 1, 6dc into the ring, sl st into the last stitch


Round 3: Chain 1, 2dc into each stitch - should have 12 stitches in total - sl st into last stitch


Round 4: Chain 1, turn the base over, using the back loop of the stitch only, 12dc.  DO NOT sl st on the last stitch this time.  You will be working up in a spiral, rather than rounds now.


Sink end now as you will be unable to sink it once the tube takes shape. Continue to dc into each stitch until you are about a three quarters of the way to the height of your chap stick.


Once you have reached the desired height - you need to grab a button - NOTE: the height  you need to crochet too will be dependant on the size of your button and the size of your chap stick.


Thread your wool into the button loop, as shown


Hook through the top loop of the wool threaded into the button loop, and then the next stitch


Pull your stitch tight, as you continue with your stitches - this will secure the button within the tube


Continue your dc stitches until you reach the top of your tube


Once the top  is reached you no longer need to continue in rounds, you will now need to make a 'lid' so without finishing off - lay the tube flat - with the button central and start doing about six dc - from right to left


ch one , flip the tube over - six from left to right


I completed five row to make my lid but do more or less if you need to.  Again without finishing off you now need to create a loop to hook round the button to secure


Chain six and connect to the last stitch on the opposite side of the lid.  Before finishing off check the loop fits round the button


Connect your keyring loop if you require.....


Ta Dah........


Friday, 28 December 2012

Happy Flowers: Ta Dah

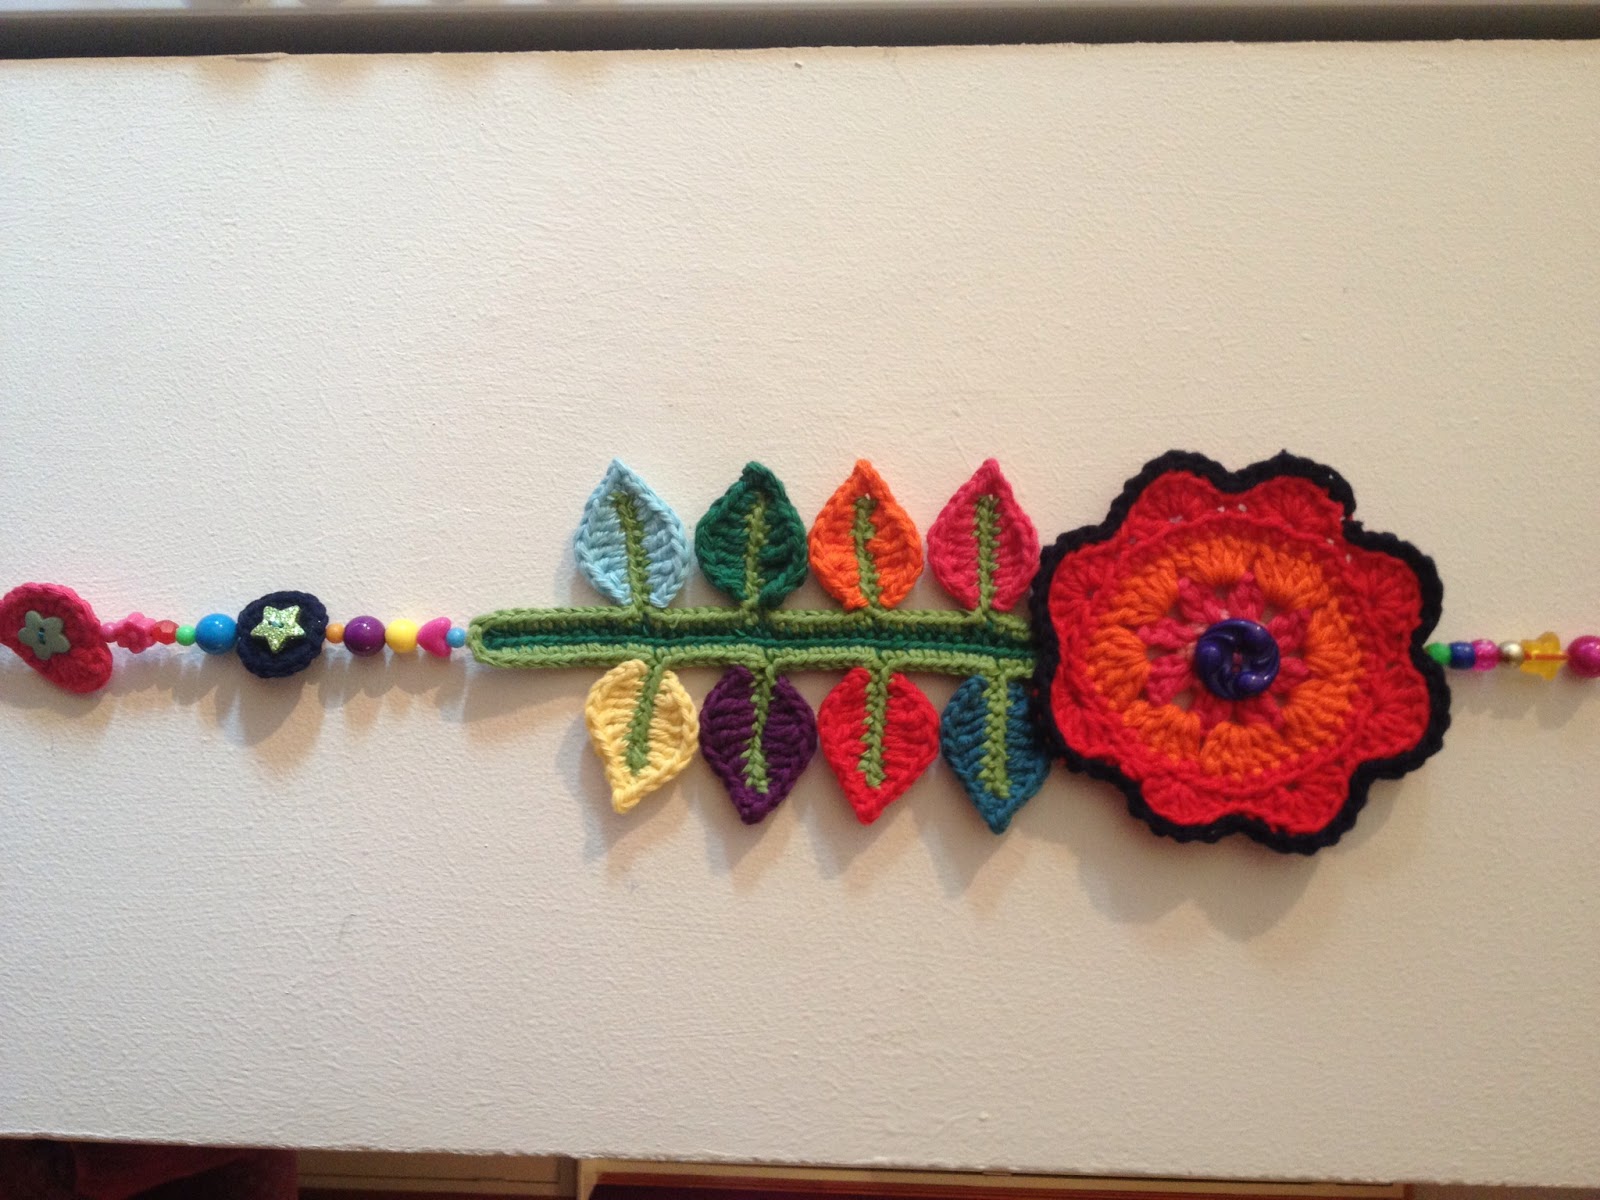
These little gems have been ongoing for a wee while.  I enjoyed the making of these enormously .... button, beads and of course Crochet.  I hope my enjoyment in making these little gifts are equally enjoyed by the recipients!!

I would love to take all the credit for the design of these Happy Flowers but of course they have come from my favourite blog site Attic24 - link here - Happy Flower.

Colour, colour and more colour...


Glue, glue and more glue - I have to say I felt about five years old painting with the glue!!


Button, beads and more button - my fun keeps getting better!!!


And here we are....


Some of the QQ are more set in their ways as far as colours are concerned ... at this moment in my life the more the better but for some its purple all the way!


A Sunflower was mentioned some time ago....


One more....


And finally.....


A whole garden of happy flowers.... Ta Dahhh  (Goodness - I really should have ironed that sheet before taking the photo!!)


All wrapped and ready to go!